Architectural Flooring Systems

When you want the most uniform and consistent polished concrete floor, TRU Self-Leveling ensures the highest quality results on each and every flooring project. TRU is formulated with Rapid Set Cement, giving you the best results not found elsewhere. TRU is ideal for stained, integrally colored, and decorative embedded aggregate flooring.
With our complete fast track flooring system, you can create the ultimate polished floor. Because TRU contains just trace amounts of polymer, TRU gives you high-gloss polished concrete with more clarity. Achieve high quality, high clarity, polished floors in fewer steps.
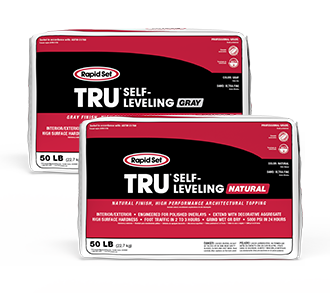
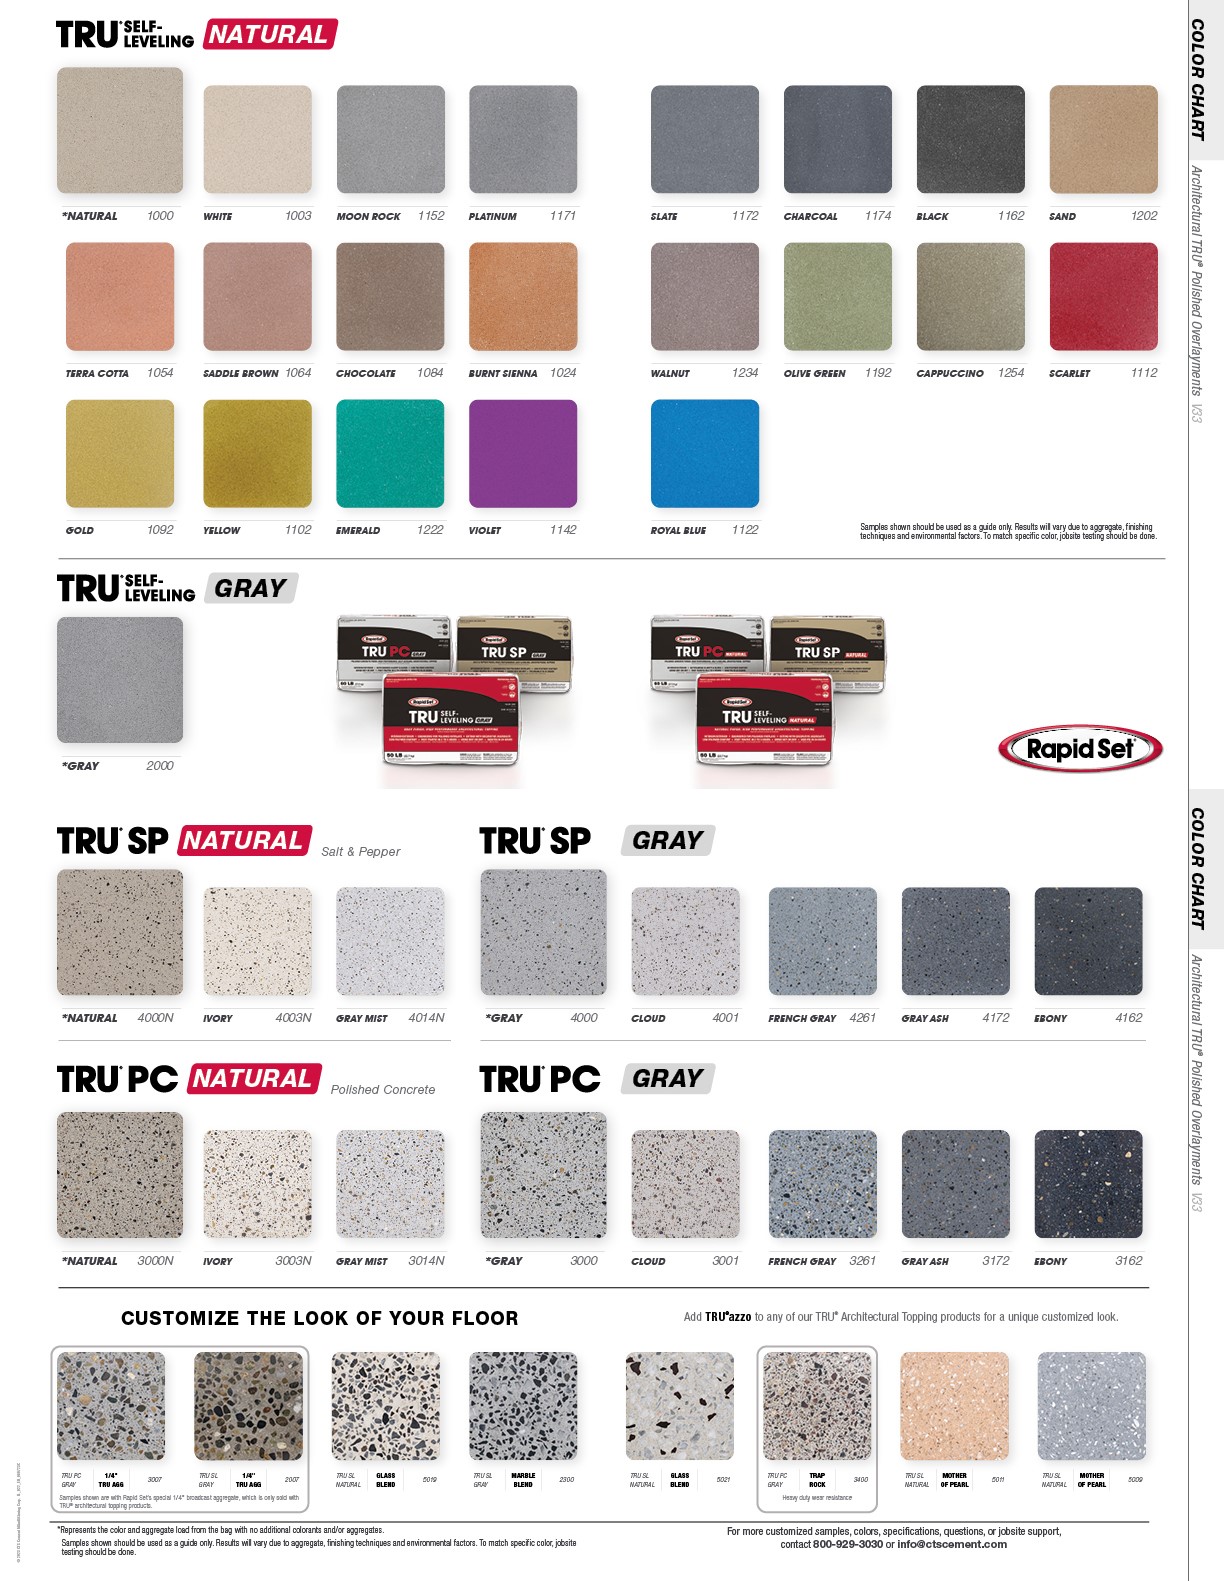
TRU Self-Leveling is an advanced, professional grade, hydraulic cement-based, architectural topping and resurfacer. It can be ground and polished to a high-gloss appearance. TRU SELF-LEVELING rapidly levels, maintains workability for 20 minutes, is ready for foot traffic in 2 to 3 hours, produces a smooth, strong surface, has high-bond strength, and ready for coatings in 12 hours. As an interior and exterior product, it is durable in wet or dry conditions. TRU SELF-LEVELING is available in natural and gray.
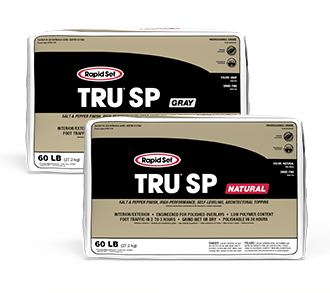
TRU SP is an advanced, professional grade, hydraulic cement-based, self-leveling topping. It can be ground and polished to expose the sand and provide a salt and pepper appearance. TRU SP levels rapidly, maintains workability for up to 20 minutes, is ready for foot traffic in 2 to 3 hours, produces a dense surface, and has high-bond strength. As an interior and exterior product, it is durable in wet or dry conditions. TRU SP is available in natural and gray.

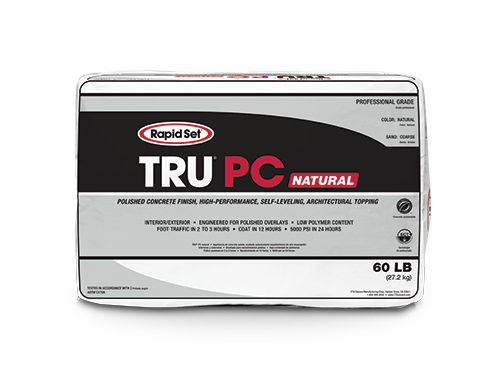
TRU PC is an advanced, professional grade, hydraulic cement-based, self-leveling, architectural topping and resurfacer. It can be ground and polished to expose the aggregate and simulate the appearance of polished concrete. TRU PC rapidly levels, maintains workability for up to 20 minutes, is ready for foot traffic in 2 to 3 hours, produces a dense surface, has high-bond strength, and is ready for coatings in 12 hours. As an interior and exterior product, it is durable in wet or dry conditions. TRU PC is available in natural and gray.
Designed specifically for polishing and decorative flooring applications
Highly polishable due to low polymer content and high density
Use as a topping, resurfacer or underlayment, incorporate colors and aggregates
Foot traffic in 2 to 3 hours, grind wet or dry, and polish in 24 hours
5000 psi (34.5 MPa) in 24 hours, 6500 psi (44.8 MPa) in 28 days
Durable in dry and wet areas
TRU is a high-flow topping that simulates polished concrete
Use to reduce your carbon footprint and lower your environmental impact
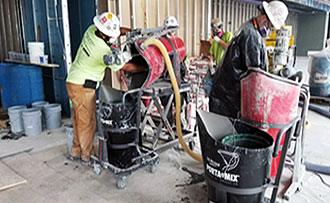
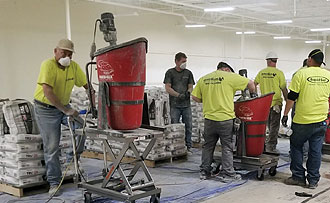
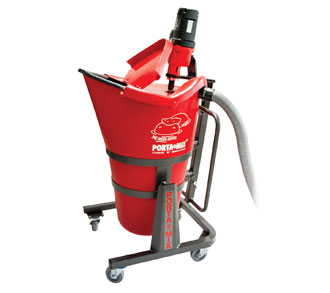
The pictures above are the most efficient way of mixing and transporting the polished overlay material onto the floor.
Keeping your Hippo at the mixing station and using a transport cart to get the mixed material to the floor will increase the amount of material you can produce in an hour. One Hippo can usually mix about 40-55 bags of material per hour, yielding about 600-825 ft2.
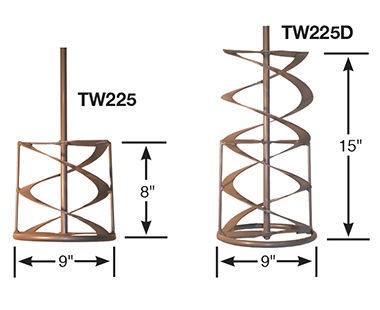
Hippo Mixing Paddles – Always use the large paddle when mixing the following amounts.
LARGE PADDLES

Add the water to the Hippo. Turn on low speed. If color is needed, add color to the water. DO NOT OVER ADD THE MATERIAL to the point where the mixer cannot properly mix. Always add the material to the center of the vortex until the mixed material reaches over the top of the mixing paddle. Then, shut the motor off and switch to high speed. Once on high speed, gradually add the material to the center of the vortex. If the dry material is not getting mixed, simply turn off the motor and quickly turn it back on. This may cause a small amount of material to splash out of the Hippo; this forces the entrapped air out of the mix. The initial start of the motor will help pull down that unmixed material.
Once all the material has been added, start the timer. Depending on the desired slump of the material you are mixing, you may want to (turn off/turn on) the machine a few times during the remaining mix time.
MIXING TIMES
Minimum mixing time after last bag:
Note: If you notice a lot of material sticking to the side walls of the Hippo when dumping the mixed material to the transport cart, this generally means the dry material was added a little too quickly.
TRU PC MIX & INSTALL VIDEO
(Use 4 bags instead of 5 bags when mixing TRU PC)
MISC. FOR MIXING STATION

It is best to have one container cut to the exact amount of water needed for the batch. Having one person measuring the water seems to work best, especially when the mix design includes color. This person should also oversee the flow testing, so the proper slump is met during the entire pour.
RAPID SET FLOW KIT
Optimal aggregate exposure with the correct slump will decrease the grinding time.
Supplies
Procedure
TARGET FLOW DIAMETERS
Hippo Mixing Paddles – Always use the large paddle when mixing the following amounts.
LARGE PADDLES

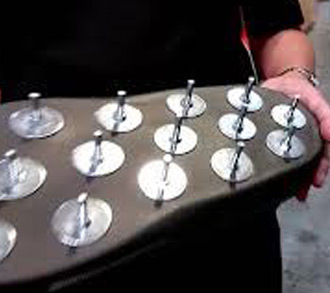
SPIKE ROLLER
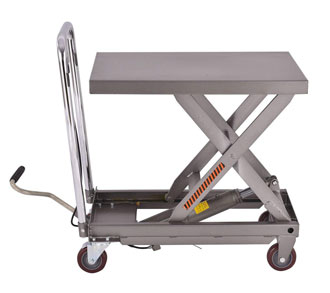
TRANSPORTING MATERIAL